


Your old online store has been running for a few years. It is slow, or hard to update, or the developer who built it is no longer around. You have decided to move to Shopify.
Then someone warns you: “Be careful. When we moved our site, our Google visitors fell and never came back.”
That can happen. But it is not bad luck, and it is not a punishment. It usually happens for one plain reason, and it can be avoided with careful planning.
What is really going on
Every page on your website has an address (also called a URL), like an address on a letter. For example:
yourstore.com/product.php?id=45
Google has learned these addresses over time. When someone searches, Google shows them that address.
Shopify uses its own pattern for addresses. Products live under /products/, categories under /collections/, normal pages under /pages/, and articles under /blogs/. So the same product may move to:
yourstore.com/products/blue-cotton-kurta
If nothing tells Google about this change, Google keeps sending people to the old address — and they land on an error page saying the page is not found. Over time, Google drops those pages. That is where the lost visitors go.
The fix is called a redirect. A redirect is like a forwarding note left at your old address: “We have moved — go here instead.” A permanent redirect (called a 301 redirect) tells both visitors and Google that the move is for good. Google’s own guide to moving a site, on Google Search Central, explains this same process.
Step 1 · List every old page before you touch anything
This is the most important step, and the one most often skipped.
Make a spreadsheet of every address on your old store that matters:
- product pages;
- category pages;
- important normal pages (about, contact, size guide, shipping);
- blog articles;
- image or PDF links that people share.
Where to find them:
- your old store’s sitemap (a list of pages, often at
yourstore.com/sitemap.xml); - Google Search Console, a free tool from Google that shows which of your pages appear in search and get clicks;
- your website analytics, for the pages that get the most visitors.
Mark the pages that bring the most visitors and sales. Those need the most care.
Step 2 · Match each old page to its new page
Next to each old address, write the new Shopify address it should go to.
- A product goes to the same product.
- A category goes to the matching collection.
- An article goes to the same article.
- If a product no longer exists, send it to the closest product or category — not just your home page. Sending everything to the home page confuses visitors and Google.
This list is often called a redirect map.
Step 3 · Keep your content, not just your design
Rankings come from what is on the page, not from the theme. When moving:
- copy over your product descriptions, not shortened versions;
- keep your page titles and meta descriptions (the short summary shown in Google results), and improve them where you can;
- keep your image descriptions (alt text — the short words that describe an image);
- move your reviews, if your review tool allows it.
A new store with thinner pages than the old one will usually do worse, even with perfect redirects.
Step 4 · Add the redirects in Shopify
Shopify has a built-in URL redirects section in the admin. You can add redirects one by one, or upload many at once from a spreadsheet file (CSV). Your developer can import the full redirect map in one go.
If you are also changing your domain name (for example from oldname.in to newname.com), keep the old domain and point it to the new store. Do not let it expire after the move.
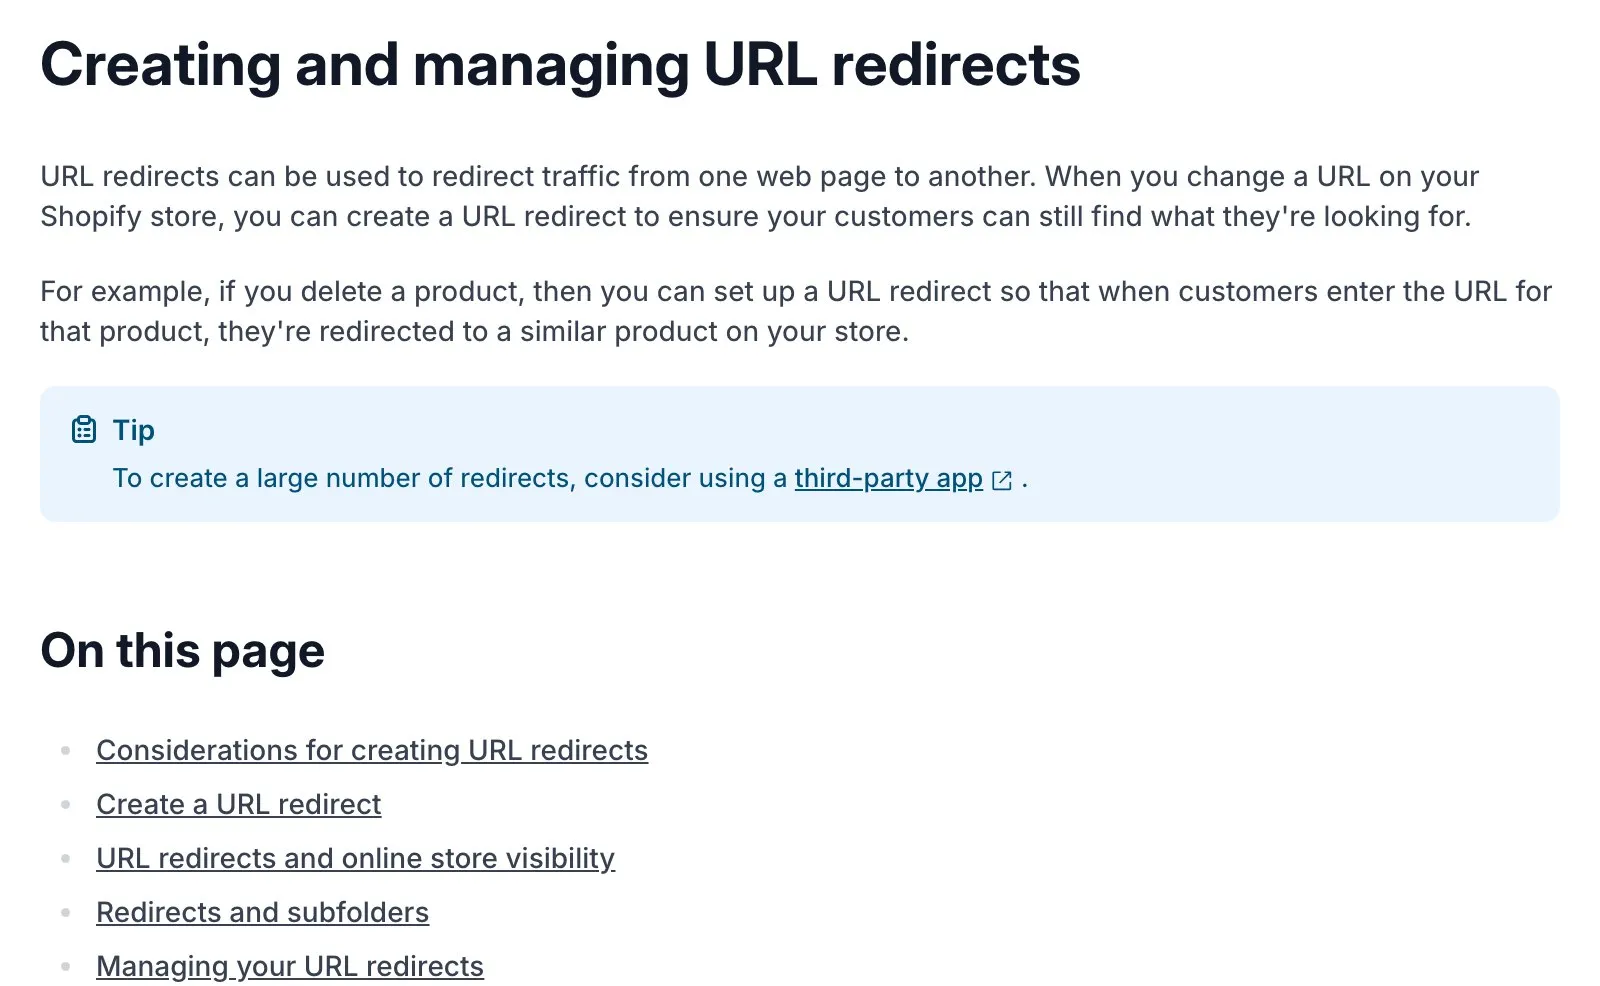
Shopify Help Centre, “Creating and managing URL redirects”. Note the tip: for a large number of redirects, Shopify suggests an app that imports them in bulk. Screenshot taken 23 October 2026.
Step 5 · Test before and after you go live
Do not trust the list — test it.
- Open 20–30 of your most important old addresses in a browser. Each one should land on the right new page, in one jump, with no error.
- Check that new pages do not say “page not found”.
- Make sure the new store is not hidden from search engines (some stores are kept private or password-protected during building — remove that on launch day).
Step 6 · Tell Google, then watch for a few weeks
After launch:
- Add the store to Google Search Console if it is not there already.
- Submit your new sitemap. Shopify creates one automatically at
yourstore.com/sitemap.xml. - Each week, look at the Pages report and the Performance report for errors and drops.
- Fix any “not found” errors by adding the missing redirects.
Google says that rankings can move up and down for a while during a site move. A small dip that recovers over a few weeks can be normal. A big drop that keeps going usually means pages, redirects or content were missed — go back to your list.
Your checklist for this week
- Do not switch off your old store or domain yet.
- Export your full page list from your sitemap and Google Search Console.
- Mark your top pages by visitors and sales.
- Build your redirect map: every old address → its closest new page.
- Copy content carefully: descriptions, titles, image descriptions, reviews.
- Plan launch-day tests and a weekly Search Console check for the first month.
If you are planning a move to Shopify and want it done without losing the visitors you already have, message us on WhatsApp — we reply 24/7.
Sources
The official pages this guide is based on:


